 Reading Time: 5 minutes read
A couple of months ago, we organized a webinar on employee burnout. We had the idea to kick start the event by live polling our attendees- asking a set of questions curated to determine what burnout meant to them and if they were actually experiencing it.
To our surprise, responses poured in. Our speakers were touched by the transparency and the very illuminating answers some of our attendees shared. Owing to the sensitive nature of the question, we had run the poll anonymously and every single attendee admitted that they were often exhausted at work and drained of energy.
The live poll worked like a charm. Not only did it act as an ice-breaker and helped us to capture the attention of our participants on the issue at hand instantly, but this kind of on-the-spot data collection also drove the rest of the conversation. We were able to display results on-screen in real-time, thus ensuring audience engagement in the rest of the conversation.
LEARN ABOUT: Audience Engagement Tools
The world needs more live polls, I am pretty certain of that! Since you are reading this post, I bet you agree too.
Who would want to sit through another meeting with the executives going on and on and on, not caring if their listeners are enthusiastic about the prospect anyway? I’ve been in enough meetings and webinars to see how instantly the audience perks up when there is a live poll in the agenda.
Live Polls are all about collecting on-the-spot feedback. It takes a quick pulse of your audience while also showing them that you care about their feedback.
Moreover, if you configure it in the settings, you can share the results instantly with the respondents too! This is interesting as the respondents can identify where they stand in comparison with their fellow-attendees.
Yes, live polls make meetings interactive and engaging. From classroom learning programs, seminars, quizzes and trivia nights to townhalls and corporate meetings, one can’t think of a employee meeting format that wouldn’t get better with some enthusiasm, So you know live polls are here to stay!
LEARN ABOUT: Live polls for Classroom Experience
The best part about live polls is that it is just as fun creating one as it is to attend one. You can create it from scratch and roll it out all under 2 minutes. Yes, for FREE and without having to download an app for it. Let me show you how to do it with QuestionPro LivePolls:
Step 1: List your questions
Prepare your questions and keep them the shortest you can. Easy-to-read questions are the best kind for a poll.
Remember that live polls are fun when they don’t drag along for long. Keep your answer choices to a maximum of four, and the total number of questions must not go over 10. We’ve noticed that 4-7 is the sweet spot.
Being quick and concise is the key!
Step 2: Open a free account
You only need your email for this step. No credit cards and no hoops to jump through. Quickly sign up for a free account so that you can create your first live poll right away.
Step 3: Assemble your questions and configure
QuestionPro LivePolls lets you run a poll, as well as collect live comments from the audience. Just follow the directions like in the picture below to go to your poll template. From here, it’s a simple matter of entering your questions and answers.
You can also have fun with the various customizing options like enabling the audience to submit anonymous responses with an alias, insert a live comment box for respondents to leave their comments, and even split your audience randomly into teams to see which side wins!
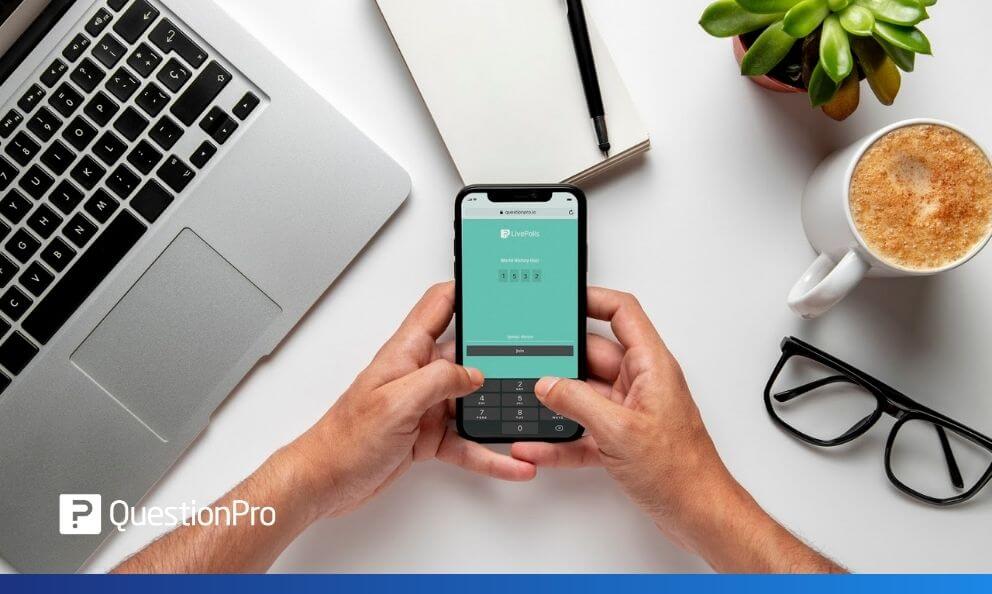
Ask your audience to get ready with their mobile phone or open another window on their screen. They need to type in questionpro.io to get to the page where the action is!
Since you are the creator and presenter of the Live Poll (we’ll call you Live Poll Admin), a 4-digit code will appear on your screen when you click ‘Start’ (refer to the picture below). At this stage, you can also set a response time limit for each question. Now share this code with your attendees and you can kick it off!
Step 6: Launch your Live Poll
Wait for your audience to join the LivePoll session and once they are all there, click ‘Start’! Yes, that’s it- you’ve successfully launched your LivePoll.
You’ll see a countdown clock displaying the time left for your respondents to choose their answer. And a leaderboard will show up on the right side of your screen with a live showcase of the top 20 scores listed in the order of who answered right the quickest! It adds an element of thrill to the Poll questions experience.
Step 7: Watch the poll results real-time
There is a basic chart that updates real-time as the responses pour in. You can share this with your respondents and it’s quite interesting to watch the graph as audience choices and answers get updated.
Step 8: Review results in dashboard – tada!
So your live poll happened in a flash, but you can hold on to the responses collected and comments received. What’s more, you can even get separate stats on the device usage, fastest respondents details, and the accuracy rate of right responses for each question. Wasn’t that fun?
Now if you enjoy watching videos over reading guides like this one here, head over to our Youtube video to learn everything about creating Live Polls!
So there, you have it! Have fun with your Live Polls!


